Implementing a new //adapter - A quickstart
Read time 5 minutesThe following technical article requires a fundamental understading of software principles and programming patterns on iOS. Given those, the reader should be able to write their own adapter in a few hours.
The adapter is a software layer that connects the VoIP backend with the apps interface. That way, you only need to write one class to support your CPaaS provider SDK or your SIP/WebRTC SDK. Let’s jump right into the implementation.
Preparation
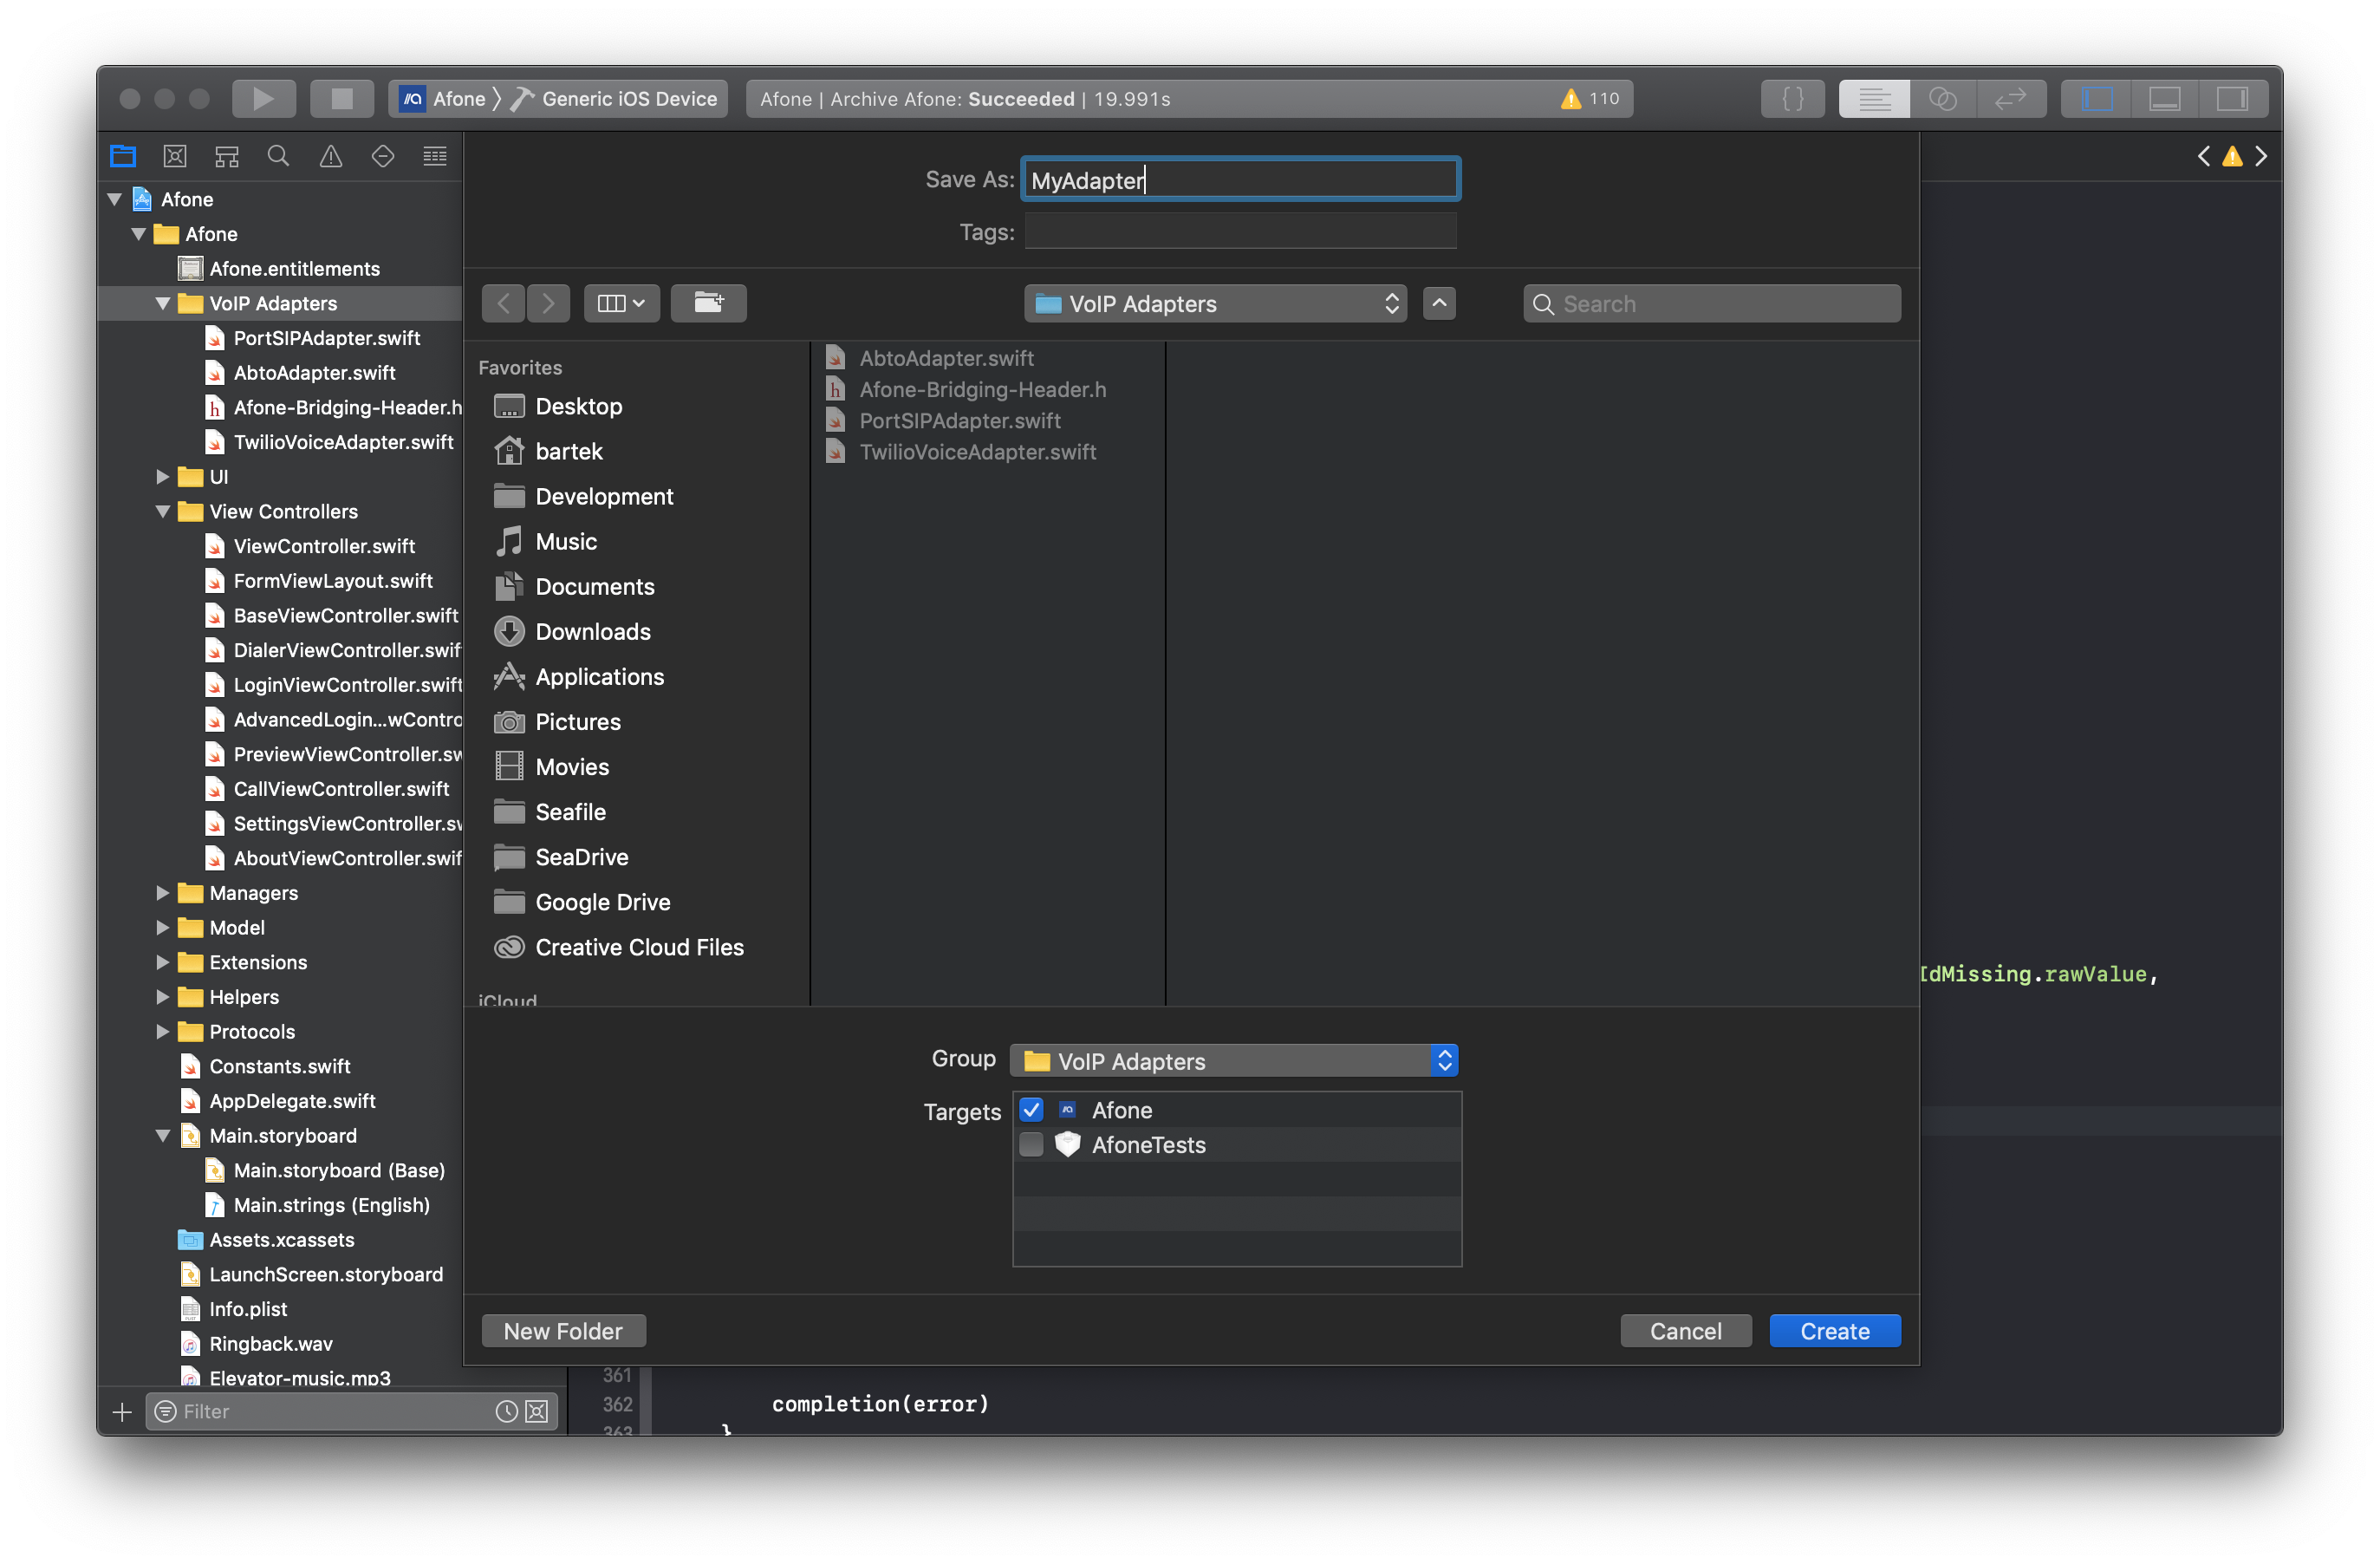
First, let’s create a new Swift file in the //afone Xcode project in the VoIP Adapters section and call it MyAdapter.

Our MyAdapter class needs to conform to //afone’s VoIPManagerDelegate and to the event protocol of your VoIP SDK. Make sure to include your VoIP SDK in the project beforehand.
We suggest declaring a few private properties that we will need for our implementation later on:
First, we will declare the SIP SDK used by this adapter implementation. As an example, we will use PortSIP SDK.
private let sipSDK = PortSIPSDK()//afone uses a call model class throughout the app. We will need it to control call actions during a call, i.e., muting, holding.
private var call: Call?Most backends require the user to login to the service before one can use it. Let’s store this information in the following property.
private var credentials: Credentials?SIP SDKs offer customization features like audio and video codecs. A generic settings class will help us set those up. You can skip this step if you decide to hard code used settings.
private var settings: Settings?Finally, we need a reference to the apps VoIPManager class. It will be our gateway to the app.
private let voipManager: VoIPManagerNow that we have all the properties we need, we can start implementing MyAdapters init method.
init(voipManager: VoIPManager) {
    self.voipManager = voipManager

    super.init()
    sipSDK.delegate = self
}
VoIPManagerDelegate protocol
Now that our adapter can be initialized, we can jump into implementing the central glue part of the adapter, which is the VoIPManagerDelegate protocol.
We suggest separating this part in an extension section like this:
extension MyAdapter: VoIPManagerDelegate {
}
and let Xcode fill-in empty stubs for you. Once you have stubs for the protocol methods, we need to take care of the login process.
When a user fills-in the login form and taps the login button, //afone will call the
initAdapter(credentials: Credentials, completion: @escaping (NSError?) -> Void)method. Here you need to configure your SIP SDK properly and implement your login procedure. You will also need to store the completion block so that it can be executed on success or failure.
private var registerCompletion: ((NSError?) -> Void)?The VoIPManagerDelegate protocol is very straightforward and reflects the actions you are already familiar with while having a call.
Those actions include:
answerCallhangUpholdunholdmuterejectCallsendDTMFcreateCall
Please refer to our documentation and the sample adapters in our GitHub repository to learn what these actions should trigger in your VoIP SDK.
As an example, we will showcase the createCall action, as it also demonstrates how to use the Call model class properly and set its state.
func createCall(to: String, hasVideo: Bool, completion: (Call?, NSError?) -> Void) {
    var error: NSError?

    call = Call(voipManager: voipManager)

    let status = sipSDK.call(to, sendSdp: true, videoCall: hasVideo)
    if status <= 0 {
      call = nil
      error = NSError(...)
    } else {
      call?.caller = ""
      call?.callee = to
      call?.sessionId = status
      call?.existsAudio = true
      call?.isSendingVideo = hasVideo
      call?.callState = .initialized
    }

    completion(call, error)
}
In this example, we create the Call model class and depending on the status of the sipSDK.createCall() method, we fill in its properties or report an error.
Codecs
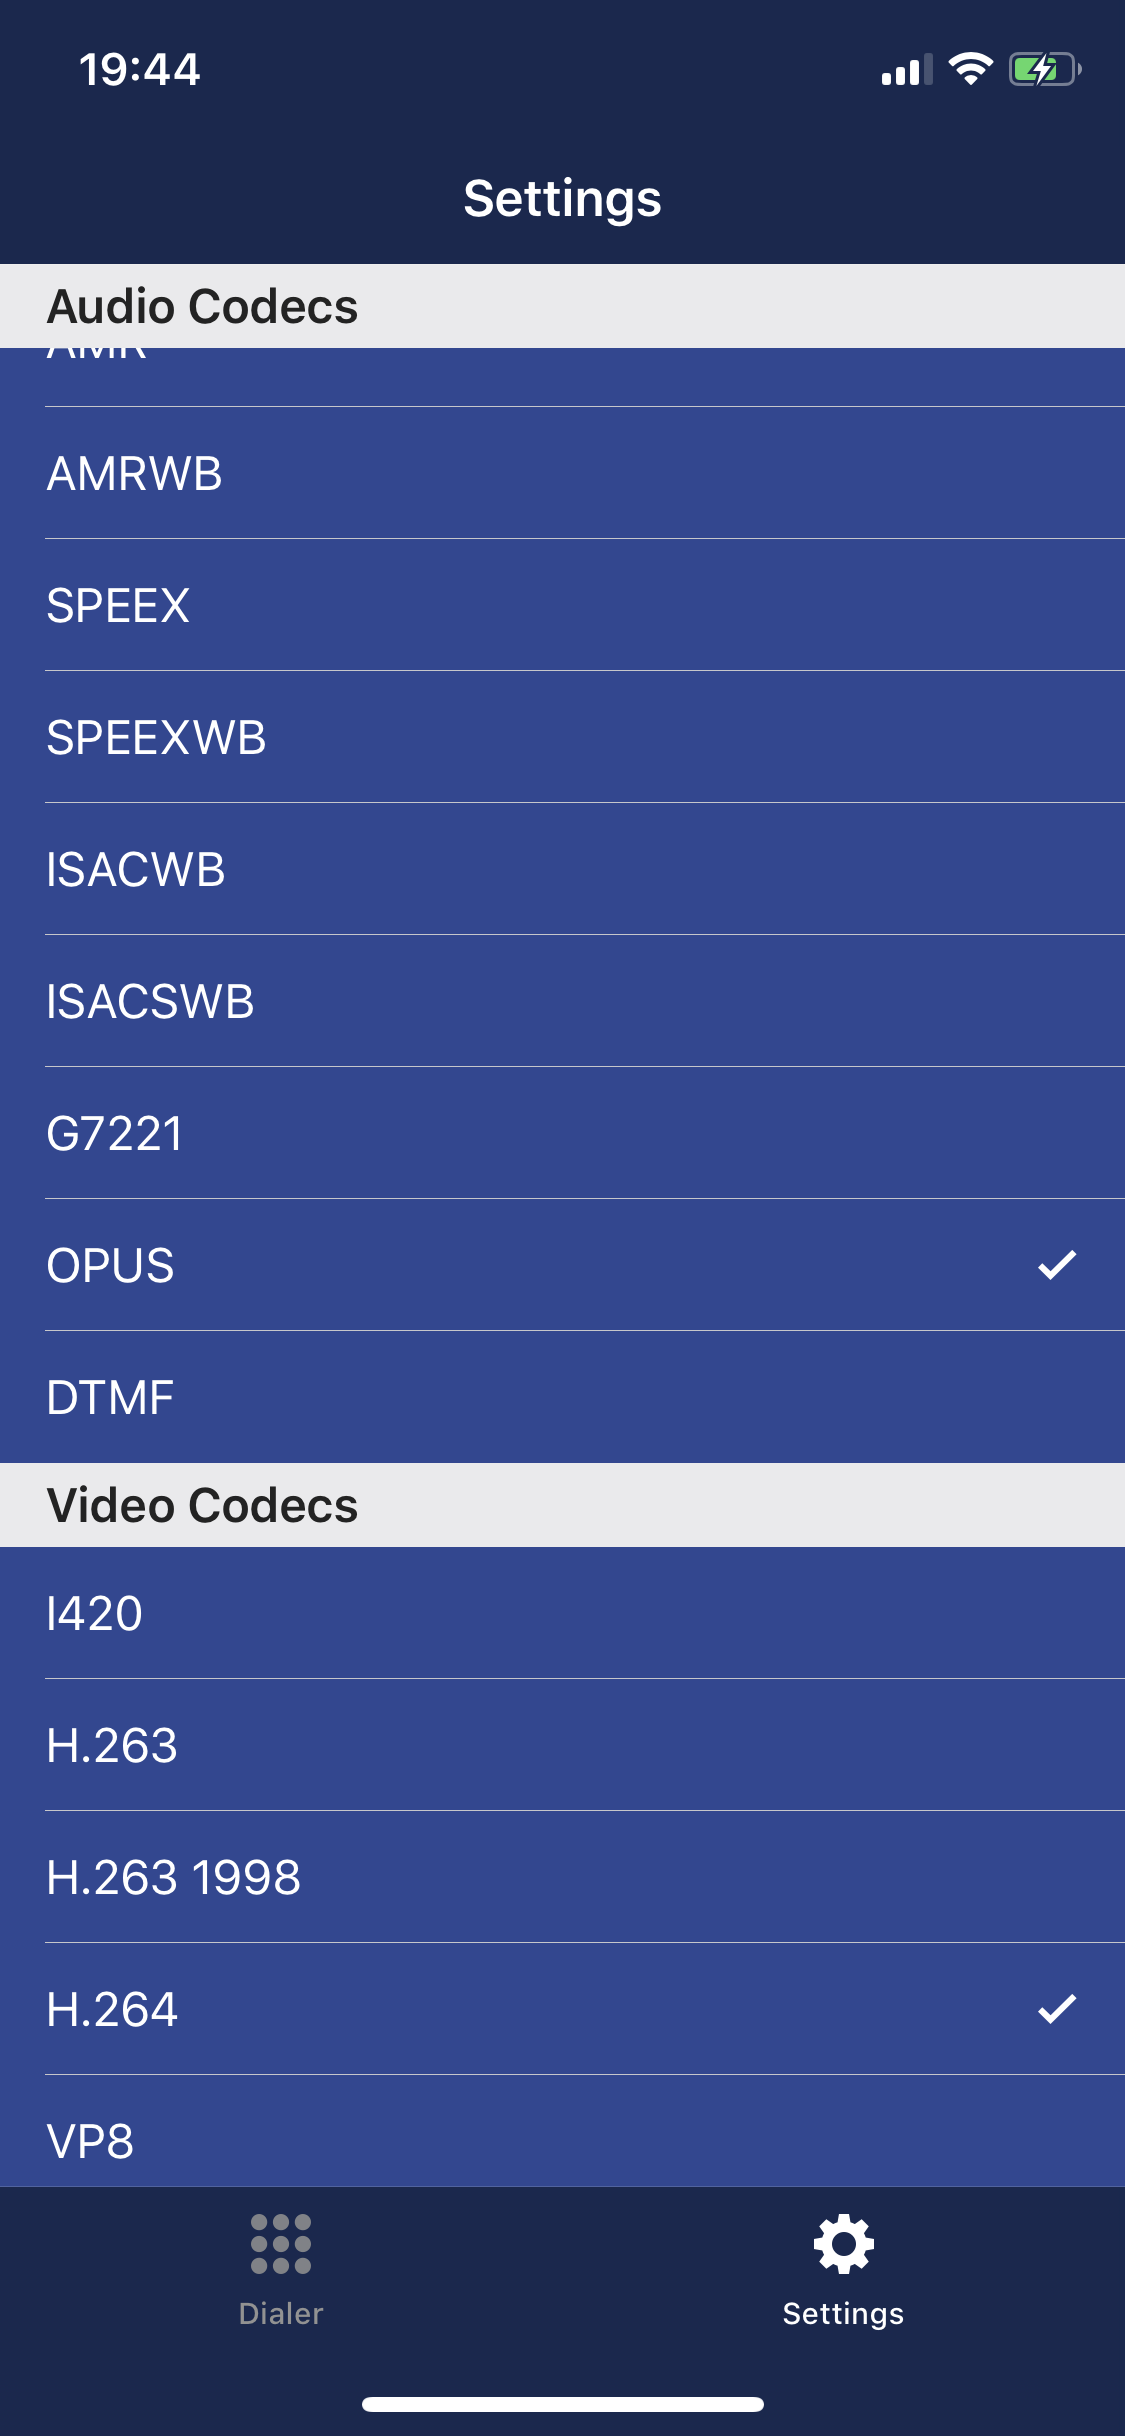
Most SIP SDKs offer a way of selecting audio and video codecs that the app should use. We make it easy to declare them in two generic properties.
var audioCodecs: [Codec]and
var videoCodecs: [Codec]When in //afone Settings, the user can tap on a list of codecs you prepared to select.

When the user taps to select or unselect a codec the
func reload(with settings: Settings)will be called. There you should reload codecs in your VoIP SDK accordingly.
SIP/WebRTC event protocol
The VoIP SDK of your choice will require you to implement also its event protocol. The event protocol is a way of signaling to the app that some actions were triggered remotely i.e. a new call is incoming. The way how those triggers are called and what they require you to do will vary from VoIP SDK to VoIP SDK, but in most cases, they will be very similar.
Just as with the VoIPManagerDelegate protocol, we suggest to put the implementation into a new extension section. For the PortSIPEventDelegate protocol it will look like this:
extension MyAdapter: PortSIPEventDelegate {
}
Also here we should let Xcode fill-in the stubs.
Let’s take a look at an incoming call event in the PortSIP SDK as an example on how to handle this kind of event and how to signal it to the app:
func onInviteIncoming(...) {
    call = Call(voipManager: voipManager)
    call?.sessionId = sessionId
    call?.caller = ...
    call?.callee = ...
    call?.callerDisplayName = callerName
    call?.existsAudio = existsAudio
    call?.isReceivingVideo = existsVideo
    call?.callState = .ringing
    call?.isIncomingCall = true

    if let call = call {
      voipManager.gotIncomingCall(call)
    }
}
This example is very similar to the createCall one, in the sense that we also need to create our Call model class, set its properties and in the end, just tell our VoIPManager, which as we’ve mentioned is the glue to the apps interface, that we got an incoming call.
Where to go from here
Getting familiar with the examples above is a good start to creating a new adapter, and while this article is not a full HowTo, it builds the grounds for you to dive deeper into integrating VoIP into your app.
Get in touch with us if you have any trouble writing your own adapter using //afone and visit our GitHub repository for more information and contribution guidelines.
Follow us on LinkedIn or Twitter to be notified about updates.